  |
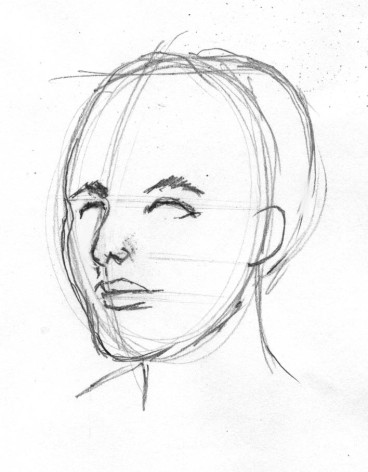
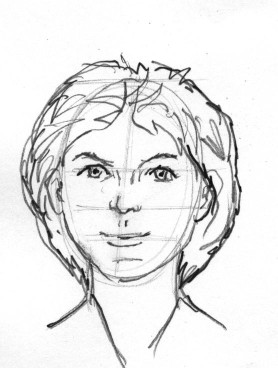
Faces are not really hard to draw. The problem is resisting old drawing habits we have formed or the negative attitude that we cant do it. Guidelines will help us to get the features located in the right place. The oval is a useful starting shape. Remember to use the same EZ approach to drawing ovals we used in our warm ups. Sketch lightly with a flowing motion to draw the oval . Next note the position of the guidelines. The first is at the top of the skull. The second at about midway is the eye guideline, Third is the nose bottom guide line which is also the bottom of the ears; this is about half way from the eye line to the chin. Mouths are more or less, at the midway point between nose and chin. Of course individual faces vary.
DRAWING THE FACE - 3 VIEWS - 7TH GRADE ART LESSON
Assignment 1: practice using
guide lines and a light pressure, sketch approach to develop the correct
proportions of the human head. Use the whole arm to move in oval motion.
Practice positioning guide lines Invent your own characters.


Assignment 2:
Find 3 views of faces in a magazine,
#1 should be a front view, #2 a side view and #3 a 3/4 view (an in between
view.)
Reproduce each of the subject from the photos using the guide line approach.
Make each of the pictures fit the larger part of a 9x12 inch drawing page.
You will have 3 finished drawings.